Create a “North Pole Animals” craft, perfect for young children!
How to Make a Simple North Pole Animal Display

This fun and educational , but most of all easy/simple craft helps children learn about animals that live in the Arctic while developing their fine motor skills and creativity. Perfect for Habitat work
What You’ll Need:
- An empty cardboard box (like a tissue box or a small shoe box)
- Construction paper or cardstock (white, and other colors for drawing animals)
- Lollipop sticks or craft sticks
- Cotton balls or white tissue paper
- Crayons, markers, or colored pencils
- Scissors (child-safe)
- Glue stick or school glue
- Optional: Glitter or glitter glue for “snow”
Instructions:
Step 1: Prepare Your “North Pole” Base
Take your cardboard box. This will be the base for your North Pole scene. If it’s a tissue box, you might want to tape up the opening to make it more stable.

Step 2: Create the Snowy Landscape
- Glue cotton balls or crumpled white tissue paper onto the top of your cardboard box. This will be the “snow” for your animals to stand in.
- You can add a bit of glitter or glitter glue for extra sparkle!

Step 3: Draw and Cut Out Your North Pole Animals
- On white construction paper or cardstock, draw various North Pole animals. Think about animals like polar bears, narwhals, arctic foxes, seals, arctic wolves, and puffins.
- Encourage children to draw their own interpretations, even if they’re “scrappy” – that’s part of the charm of a handmade craft!
- Carefully cut out each animal.
Step 4: Attach Animals to Lollipop Sticks
- Glue the back of each cutout animal to a lollipop stick. Make sure the stick is glued securely to the back of the animal, leaving enough of the stick exposed at the bottom to push into the cardboard.
Step 5: Label Your Craft
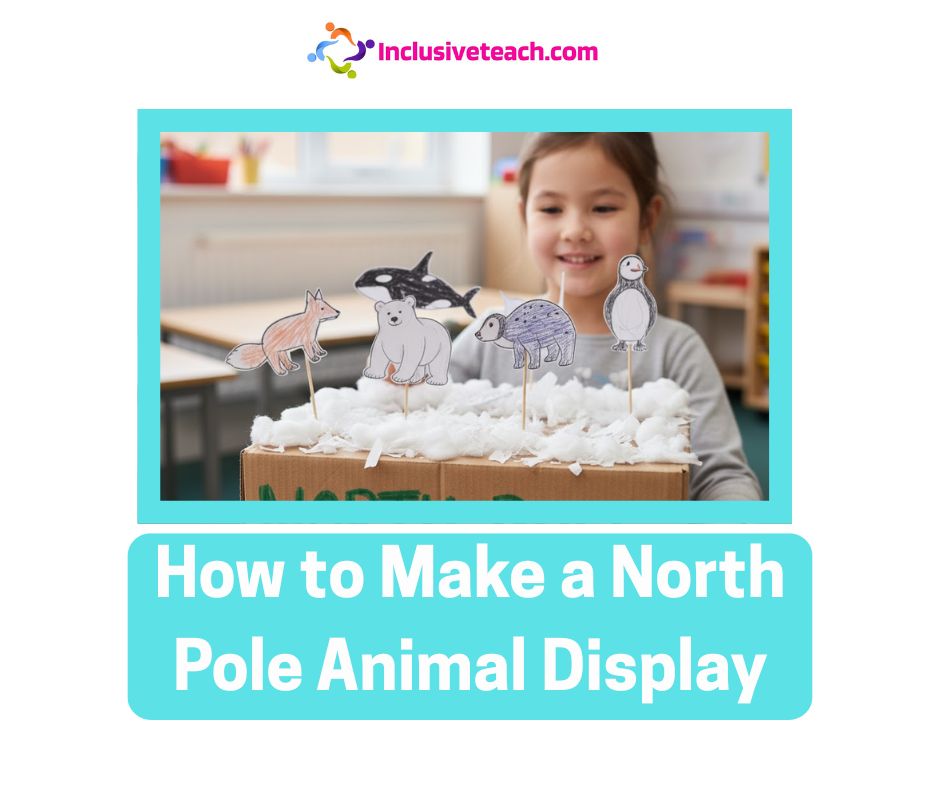
- On a piece of cardboard or construction paper, write “NORTH POLE” using crayons or markers. This can be glued to the front of your box, or you can have the children write directly on the box.
Step 6: Assemble Your North Pole Scene
- Carefully push the exposed ends of the lollipop sticks with the animals into the “snowy” top of your cardboard box. Arrange them in your North Pole landscape.
- You can also add a small piece of green construction paper cut into a tree shape for a bit of scenery.

Tips for EYFS Children:
- Pre-cut shapes: For younger children, you might want to pre-cut some of the animal shapes to help them with the cutting stage.
- Focus on the process: Emphasphasize the fun of making the craft rather than perfection.
- Talk about the animals: As they create, discuss where these animals live and what makes them special.
- Sensory experience: Let them enjoy the feeling of the cotton balls or tissue paper for the snow.
Here’s an example of what the finished craft might look like:

Related
Discover more from Special Education and Inclusive Learning
Subscribe to get the latest posts sent to your email.
Source link


